
Easy Pie Crust Recipe Without A Food Processor
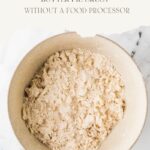

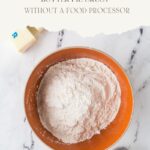
This Easy Pie Crust Recipe Without A Food Processor is made by hand using simple ingredients and cold butter. Everyone knows perfect pies start with a flaky crust and I’m going to show you how to make a flavorful classic crust without any special equipment. Whether you’re familiar with baking or a beginner in the kitchen, mastering a homemade pie crust is really easy. Get your pie dish ready- and let’s get started.
Original Post: June 2024 | Post Updated: August 2026
I have been making pie crust without a food processor for well over 25 years. The recipe is adapted from a restaurant I used to work at many years ago named Andaluca. This pie crust recipe never disappoints and gets rave reviews every single time.
Amazon Associate Affiliate Links Disclosure: This post contains links to products I love on Amazon. If you click through the links provided, we may receive a small commission at no additional cost to you.
Why this recipe works
- Simple ingredients. This is a simple pie crust recipe that uses only a few basic ingredients.
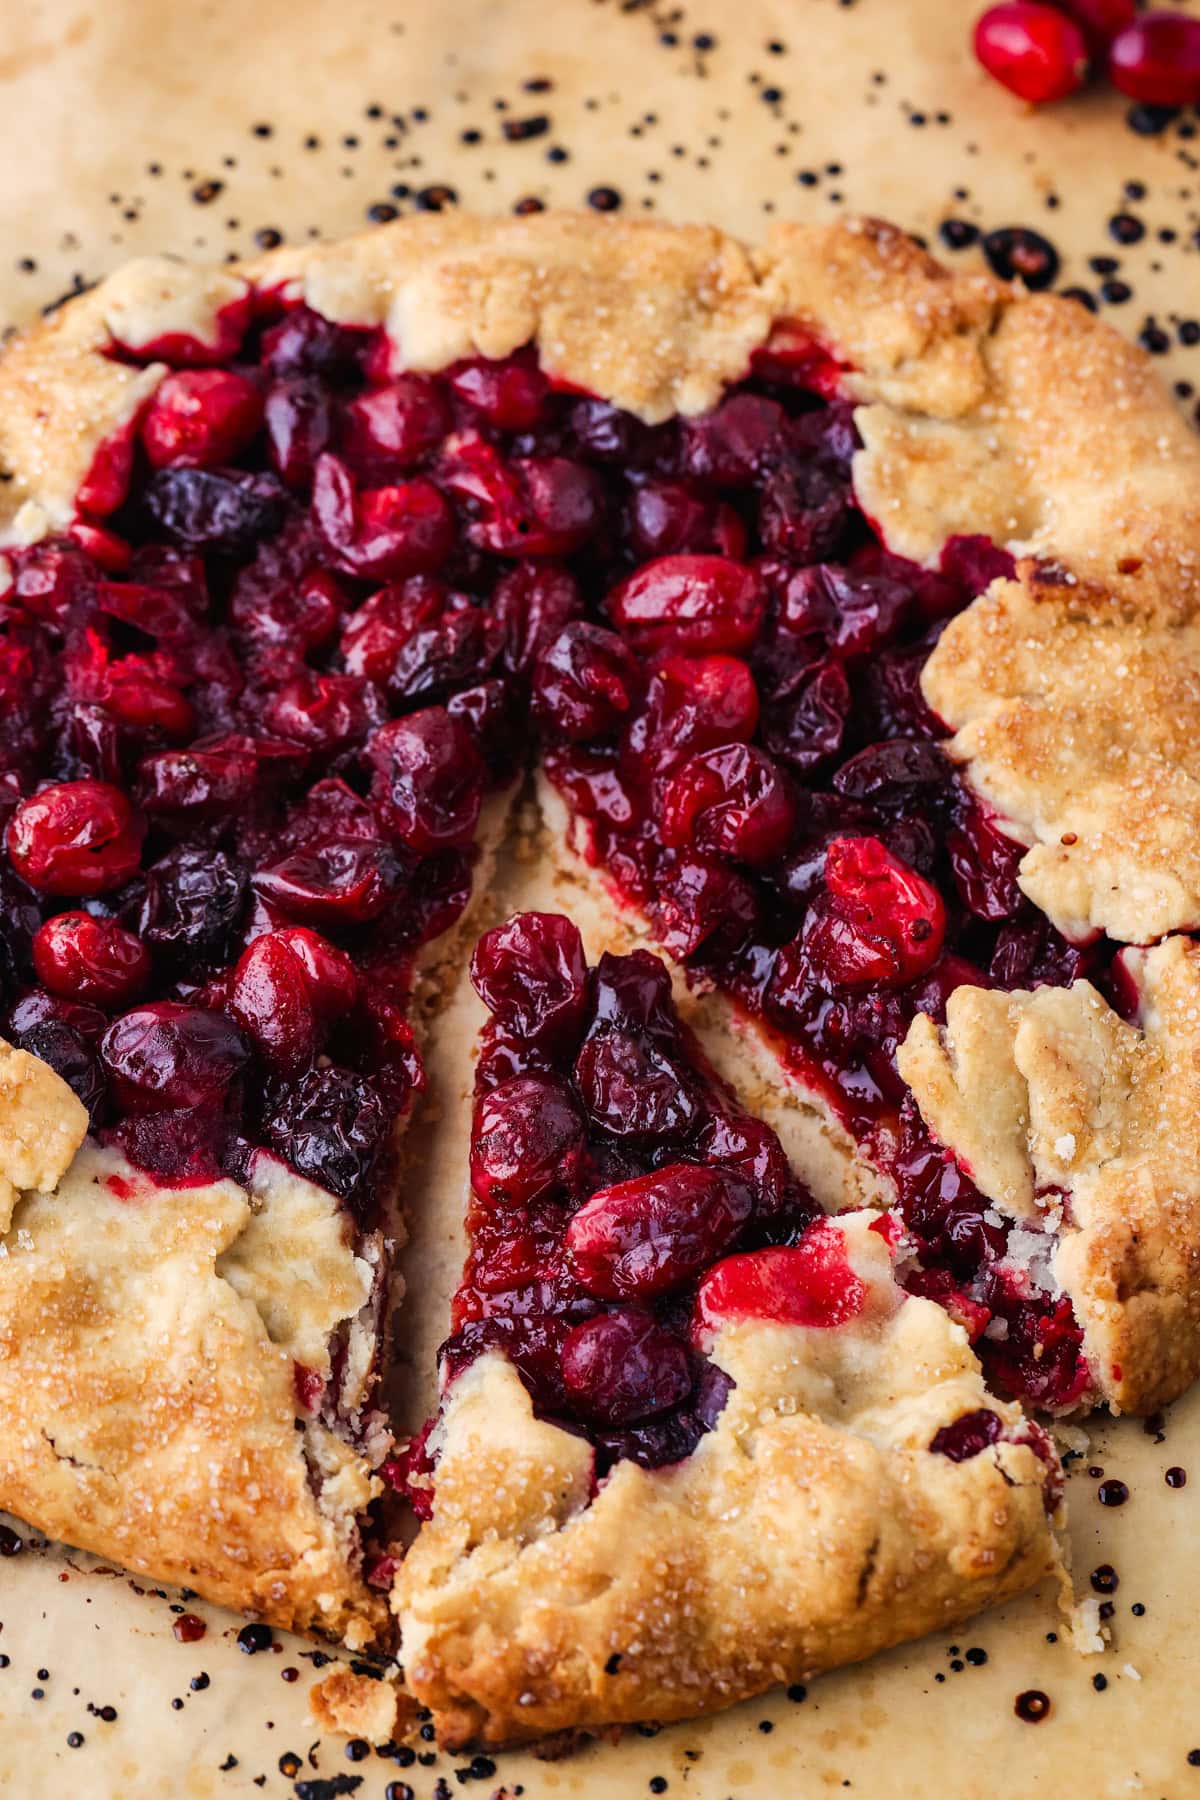
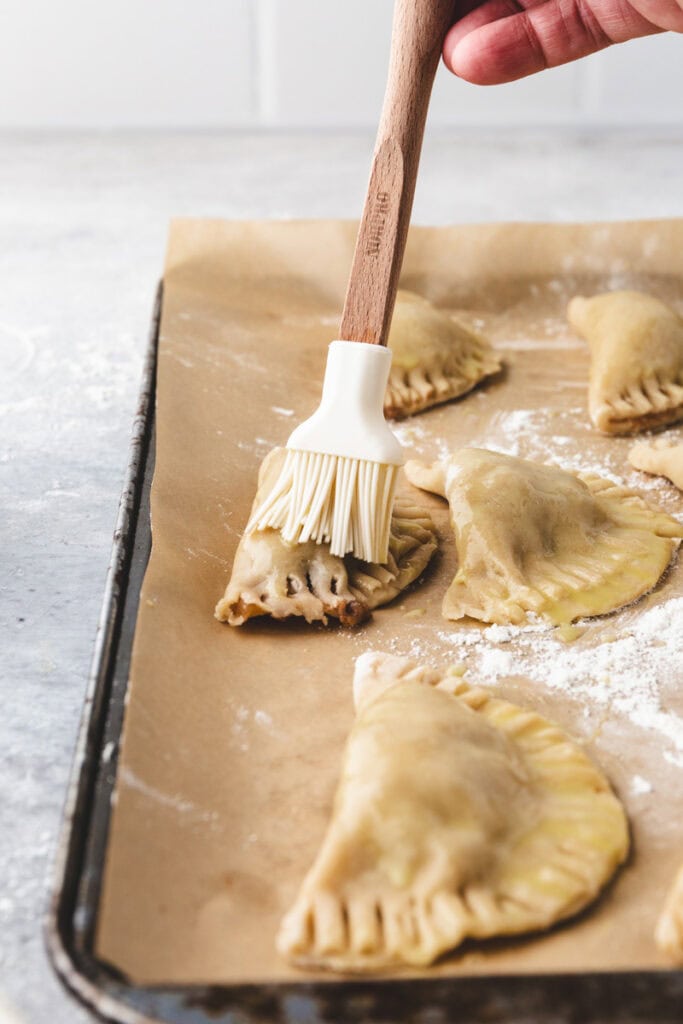
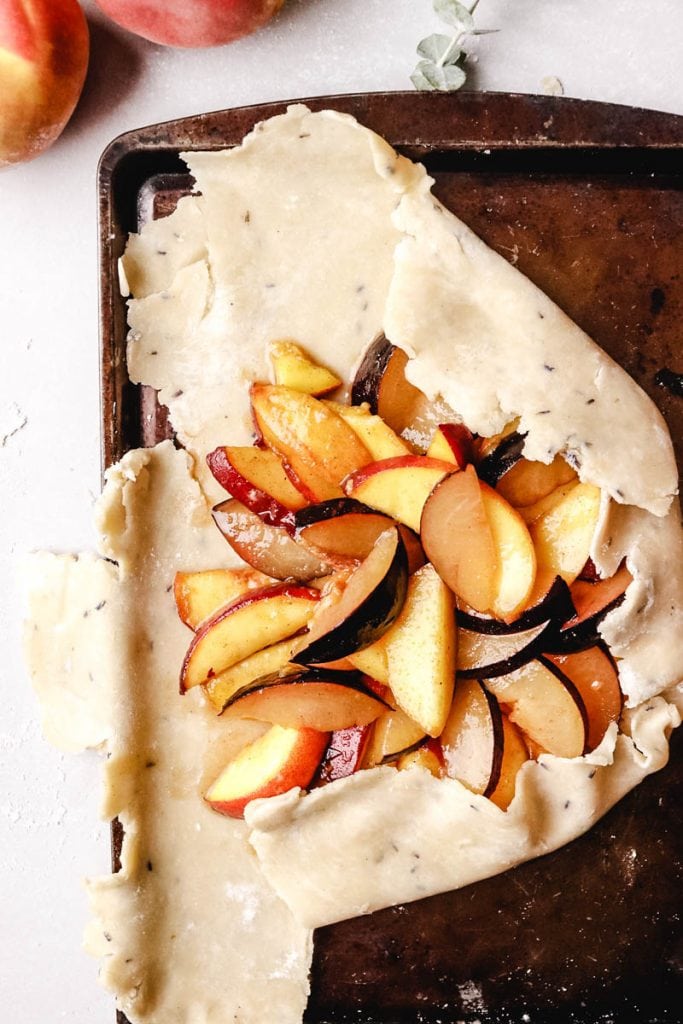
- Versatile double-crust. This recipe makes enough dough for a double sided pie, galettes like my Stone Fruit Galette and Cranberry Galette, empanadas like Apple Empanadas, Ground Chicken Empanadas, Cherry Empanadas and Fig Empanadas, hand pies, turnovers and quiches.
- No food processor needed. All you need are your hands and a couple of basic kitchen tools.
Ingredients
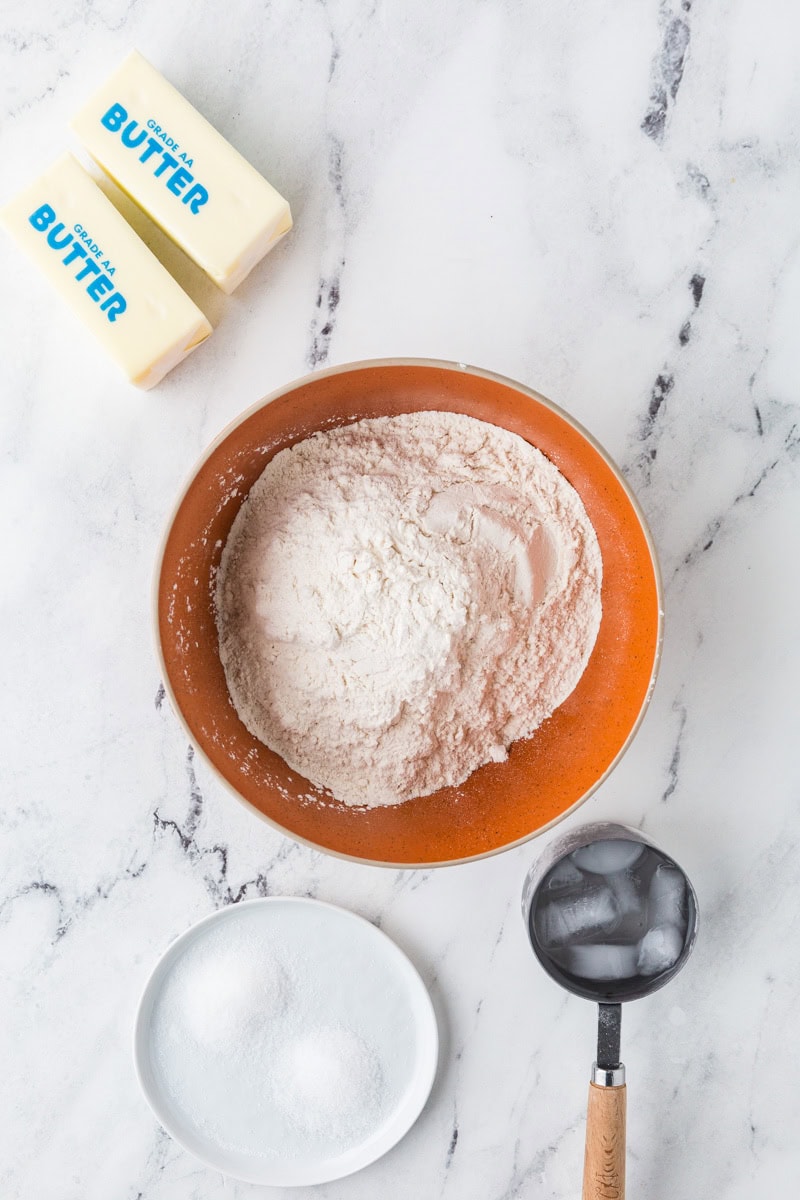
To create the perfect pie crust, you’ll need:
- All-purpose flour. Cold flour makes a difference. I normally store my flour in the freezer but you can also refrigerate the flour as well before making.
- Kosher salt.
- Sugar.
- Unsalted butter. Make sure the butter is cold and cut into cubes.
- Ice water. Just a few ice cubes in a 1/4 cup of water works.
Along with the ingredients, here are some helpful tools that will help with the pie crust-making process:
- Plastic wrap. You are going to be wrapping the dough to store in the fridge.
- Rolling pin. Whether you are making pies or empanadas, a rolling pin is a must have!
- Pastry cutter. This is perfect for lattice crust. You can also use biscuit cutters if you are making hand pies.
- Measuring cup and measuring spoons.
- Large mixing bowl.
- Pie pan. I love my ceramic pie dishes!
- Pastry slab. This isn’t required. But I find it to be the most effective work surface versus using my kitchen counter. My pastry slab is dedicated to all baked goods in the house so I don’t ever worry about cross contamination.
How to Make a Pie Crust without a Food Processor
- Start with cold ingredients, even the flour. Cold butter is essential for creating a flaky crust. Cut the butter into small pieces and place them in the freezer for 10-15 minutes before using. You can also place the flour in a large bowl and place it in the fridge or freezer.
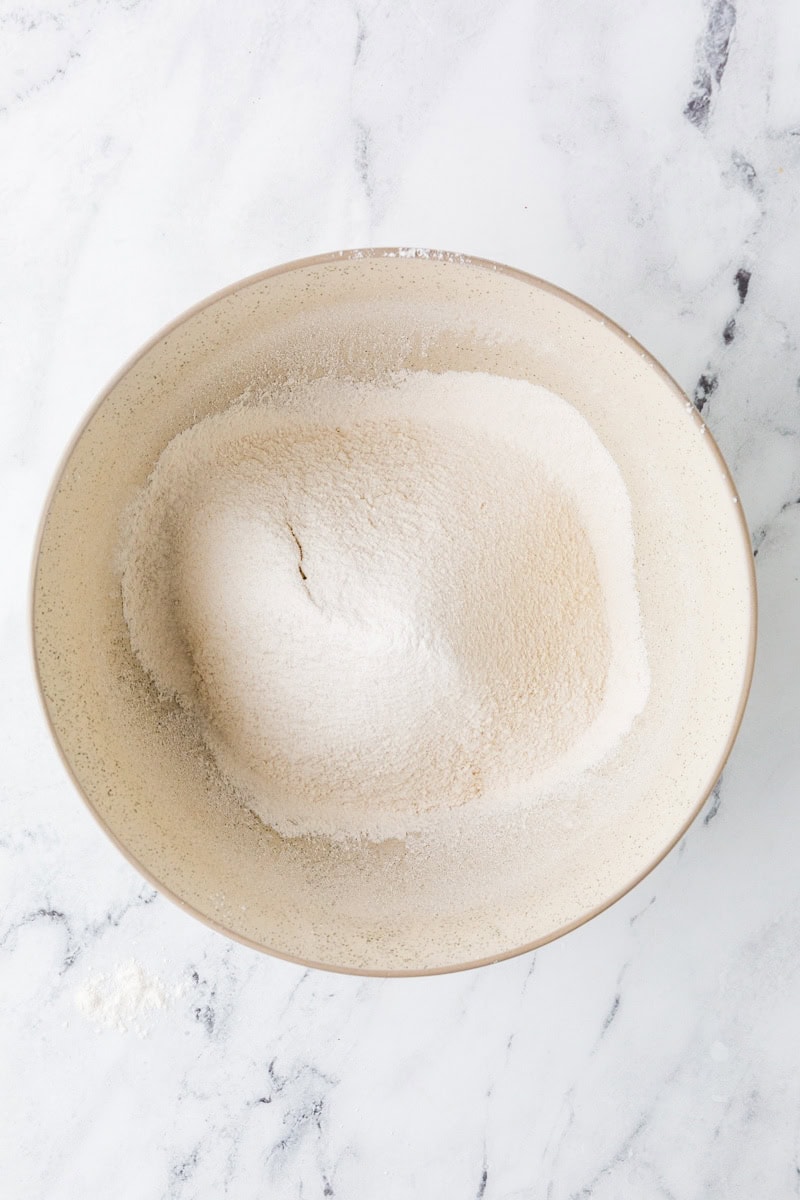
2. Make the Dough: In a large mixing bowl, whisk together the flour, sugar and salt. Add the cold butter pieces and blend them into the flour using a pastry cutter or your fingers. The mixture should resemble corn meal and you might have some clumps. (and that is ok.)
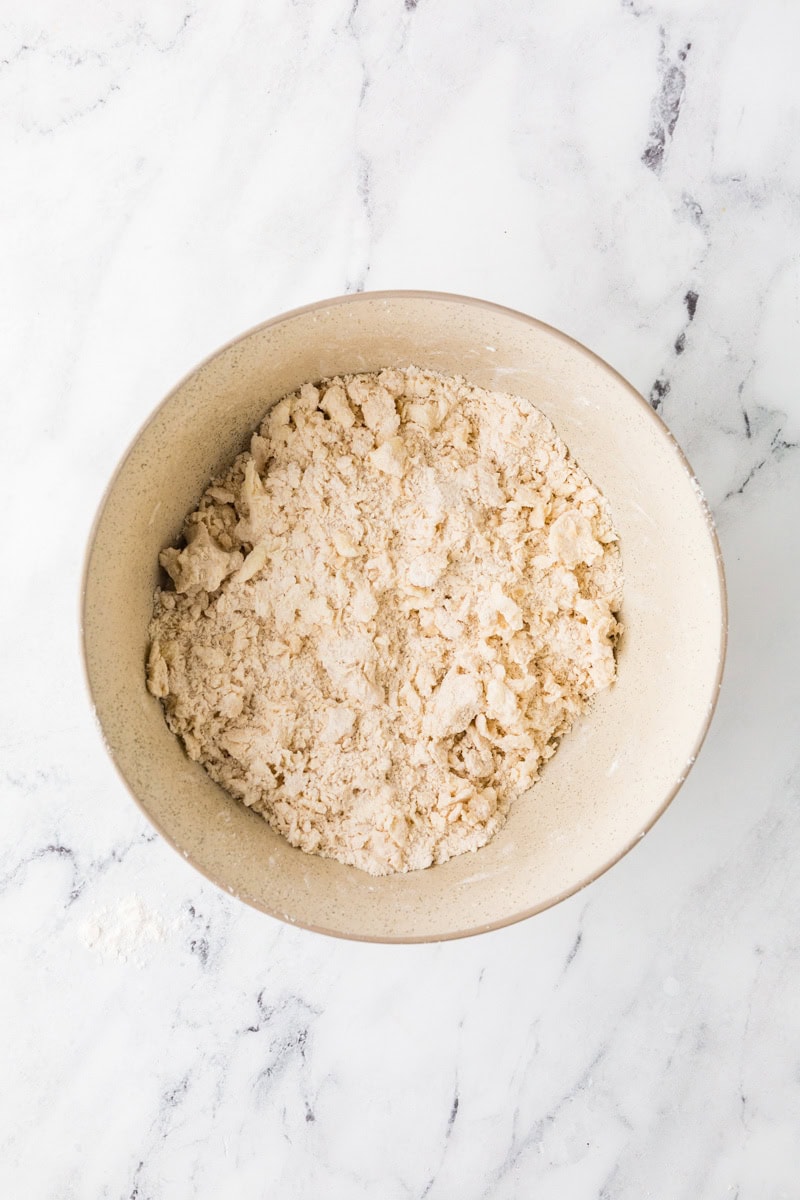
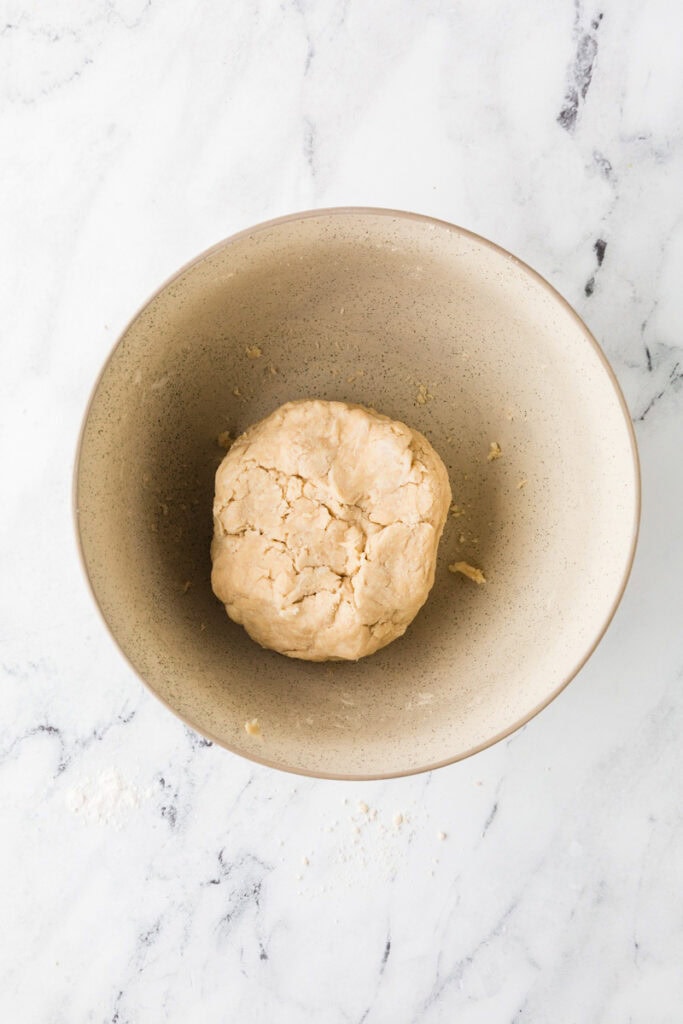
3. Add Cold Water: Sprinkle one tablespoon of cold water (or ice water for extra coldness) over the flour-butter mixture. With your hands to gently mix the dough. Add more water, one tablespoon at a time, if needed, until the dough starts to come together. Be careful not to overwork it.
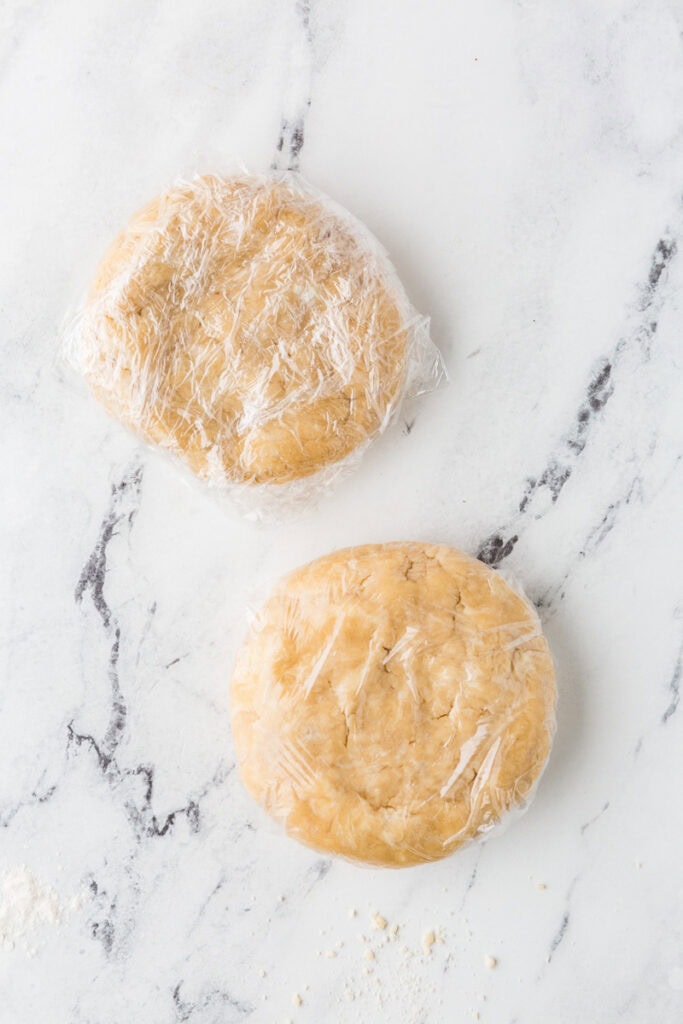
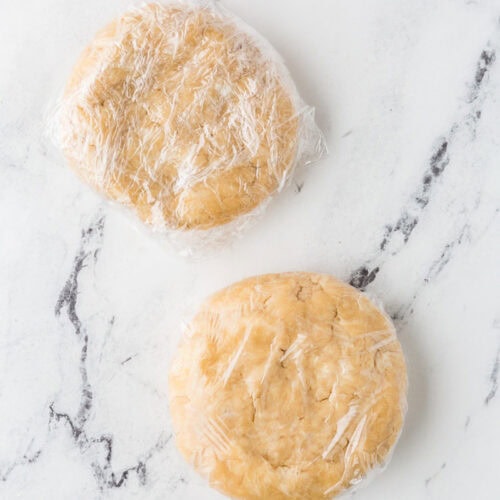
4. Form the Dough: Once the dough begins to clump together, transfer it to a clean work surface lightly dusted with flour. Divide the dough into two equal portions for a double-crust pie. Form each portion into a disk, wrap them tightly in plastic wrap, and refrigerate for at least 30 minutes or up to overnight. Chilling the dough allows the gluten to do its thing in the flour mixture.
5. Roll Out the Dough: Remove one dough disk from the refrigerator and let it sit at room temperature for a few minutes to slightly soften. On a lightly floured surface, roll out the dough into a circle about 12 inches in diameter for a standard pie plate. For ease, roll the dough around the rolling pin and unroll it over the pie plate. Gently press the dough into the plate, trimming any excess overhang with a sharp knife.
Storing
- Refrigerator: Wrap the pie dough tightly in saran wrap and refrigerate for up to about 3 days.
- Freezer: Wrap each dough disc tightly in plastic wrap, then place it in a freezer-safe bag or container. Freeze for up to 3 months.
- To thaw: Transfer frozen pie dough to the fridge and defrost overnight. Once thawed but still cold, roll it out as usual.
Helpful tips for Easy Pie Crust (No Food Processor)
- During the holiday season I like to make my dough disks ahead of time and let them sit in the fridge for a couple of days.
- Chill the flour before using. Cold butter + ice water + cold flour = flaky crust.
- To avoid adding too much water to the flour when first preparing the dough, add the ice water in small increments.
- Avoid thawing it at room temperature until it’s very soft. The butter should stay cold for a flaky crust.
Serving suggestions
Depending on how you want to use your pie crust will determine your next steps.
You can:
- Pre- Bake the Crust (if needed): Some pie recipes call for “blind baking” the crust before you fill it. Line the pie crust with parchment paper or aluminum foil, then fill it with pie weights or dry beans to prevent it from puffing up during baking. Bake the crust for about 10-15 minutes, then remove the weights and parchment/foil and follow your recipe to continue baking.
- Assemble Pie: Once your crust is baked and cooled (if prebaking), fill it with your desired pie filling, whether it’s a classic apple pie or a savory pie such as quiche or chicken pot pie. If making a double-crust pie, roll out the second dough disk and place it over the filling. Trim the excess dough and crimp edges to seal.
- For pies or empanadas: Brush the top crust with an egg wash (one beaten egg mixed with a tablespoon of water) for a golden brown finish. Cut small slits in the top crust to allow steam out while baking(I do this for pies not empanadas). Bake until the crust is golden brown and the filling is bubbling.
- You can add your flare to this crust for example: add dried culinary lavender to it such as in my Stone Fruit Galette. You could also add vanilla sea salt. Or add in toasted nuts or infuse with other kinds of flavors like chocolate.
Looking for other recipe ideas? Subscribe to my monthly newsletter and receive delicious recipes sent straight to your inbox!
Did you make this recipe and love it? Please leave a comment and give it a 5 Star Rating! THANK YOU!
Easy Pie Crust Recipe Without A Food Processor

Save This Recipe
Want to get this recipe in your email? Just enter your email below and get it now along with new recipe updates!
Ingredients
- 2 1/2 cups all purpose flour
- 1 teaspoon salt
- 1 teaspoon sugar
- 1 cup butter cubed
- 1/4 cup ice water may need 1/2 cup

Instructions
- In a large bowl, sift together all the dry ingredients.
- Add the cubed butter and squish it together with your fingers until the flour resembles cornmeal.
- Add the water in small increments and pat it together until it becomes a ball. If more water is needed, add it little by little.
- Roll and shape the dough. Cut in half with reshape into a disk. Wrap the two doughs with Saran Wrap and place the disks into the fridge for about one hours.
- To use dough, remove from the fridge and let it sit out for a few minutes and then roll the dough out according to your recipes instructions.
Notes
Nutrition
Making this recipe? I would love to see it! Tag me on Instagram @whensaltyandsweetunite or use hashtag #whensaltyandsweetunite .