Action Shots For Food Photography

Time for some excitement with learning Action Shots for Food Photography. Food photography can be technical but I swear once you start doing actions shots, you will have so much FUN!
This was one of my recent assignments and after doing it, I feel way more comfortable. Last year at this time, I was able to do a pour shot, however the exposure of the photo was under exposed, making it really hard to edit.
Where to Start with Action Shots for Food Photography
First off, you will want to have some understanding of shutter speed. Shutter speed is the rate that the shutter opens and closes inside the camera.
Though I knew what shutter speed was, I wasn’t using it to my advantage and I wasn’t changing it when it really needed to be because I simply didn’t understand the importance of its function.
I shoot in manual mode and always adjusted the ISO and aperture. But I never was adjusting the shutter. I would look back at photos and think there is something off- and come to find out- it was the shutter because that affected the lighting. Since I started adjusting shutter- my photographs are coming together much better now!
Notes on Lighting
I’m all about artificial light for my food photography. I use an Aputure LED Continuous Light. The thing about continuous light and action shots is that you will treat it like using natural light. By that I mean you will need to adjust the shutter speed to a faster speed in order to freeze the motion.


Tips on Taking Action Shots for Food Photography
Here are tips that you can use if you want to start taking action shots for food photography.
- Use a tripod. Using a tripod will allow you to use a lower aperture. Using a lower aperture will let more light into your camera which is needed when using a higher shutter.
- Grab a partner to help you out. Have someone on the other end to pour the syrup or dunk the ice cubes into the water. You want to focus on the capturing the moment!
- Set your shutter speed to 1/1000 sec. You will have to adjust the ISO and aperture so that you get the proper exposure.
- Have paper towels ready because this will get messy!
- Set the camera to continuous mode. This will help you capture the action just right. I used to use one shot and couldn’t figure out why my image wasn’t turning out. For instance, the ice didn’t hit the glass yet or my timing was off when the syrup is pouring therefore I wasn’t capturing the whole stream of the action.


More Tips
Something that has helped me immensely is taking test shots. You would want to use test shots when you are actually photographing something for your blog or instagram and not just for practice.
For instance, instead of pouring all the syrup on top your beautifully plated waffles, having the camera settings all wrong and not getting the images you desired, play around with your settings. Take some syrup shots on an empty plate (or a messed up waffle you were just going to eat), that way you are not wasting food or messing up your main attraction.

Reasons to learn Action Shots for Food Photography
Learning action shots is not only great for food photography, it’s also useful when you are taking pictures of your kids, animals, or any moving objects like sports.
For Food Photography, the common action shots you will see are drizzles, pouring, splash shots and sifting. Action brings life to the photo and will help your portfolio. Also, it looks great for your blog and instagram feed.
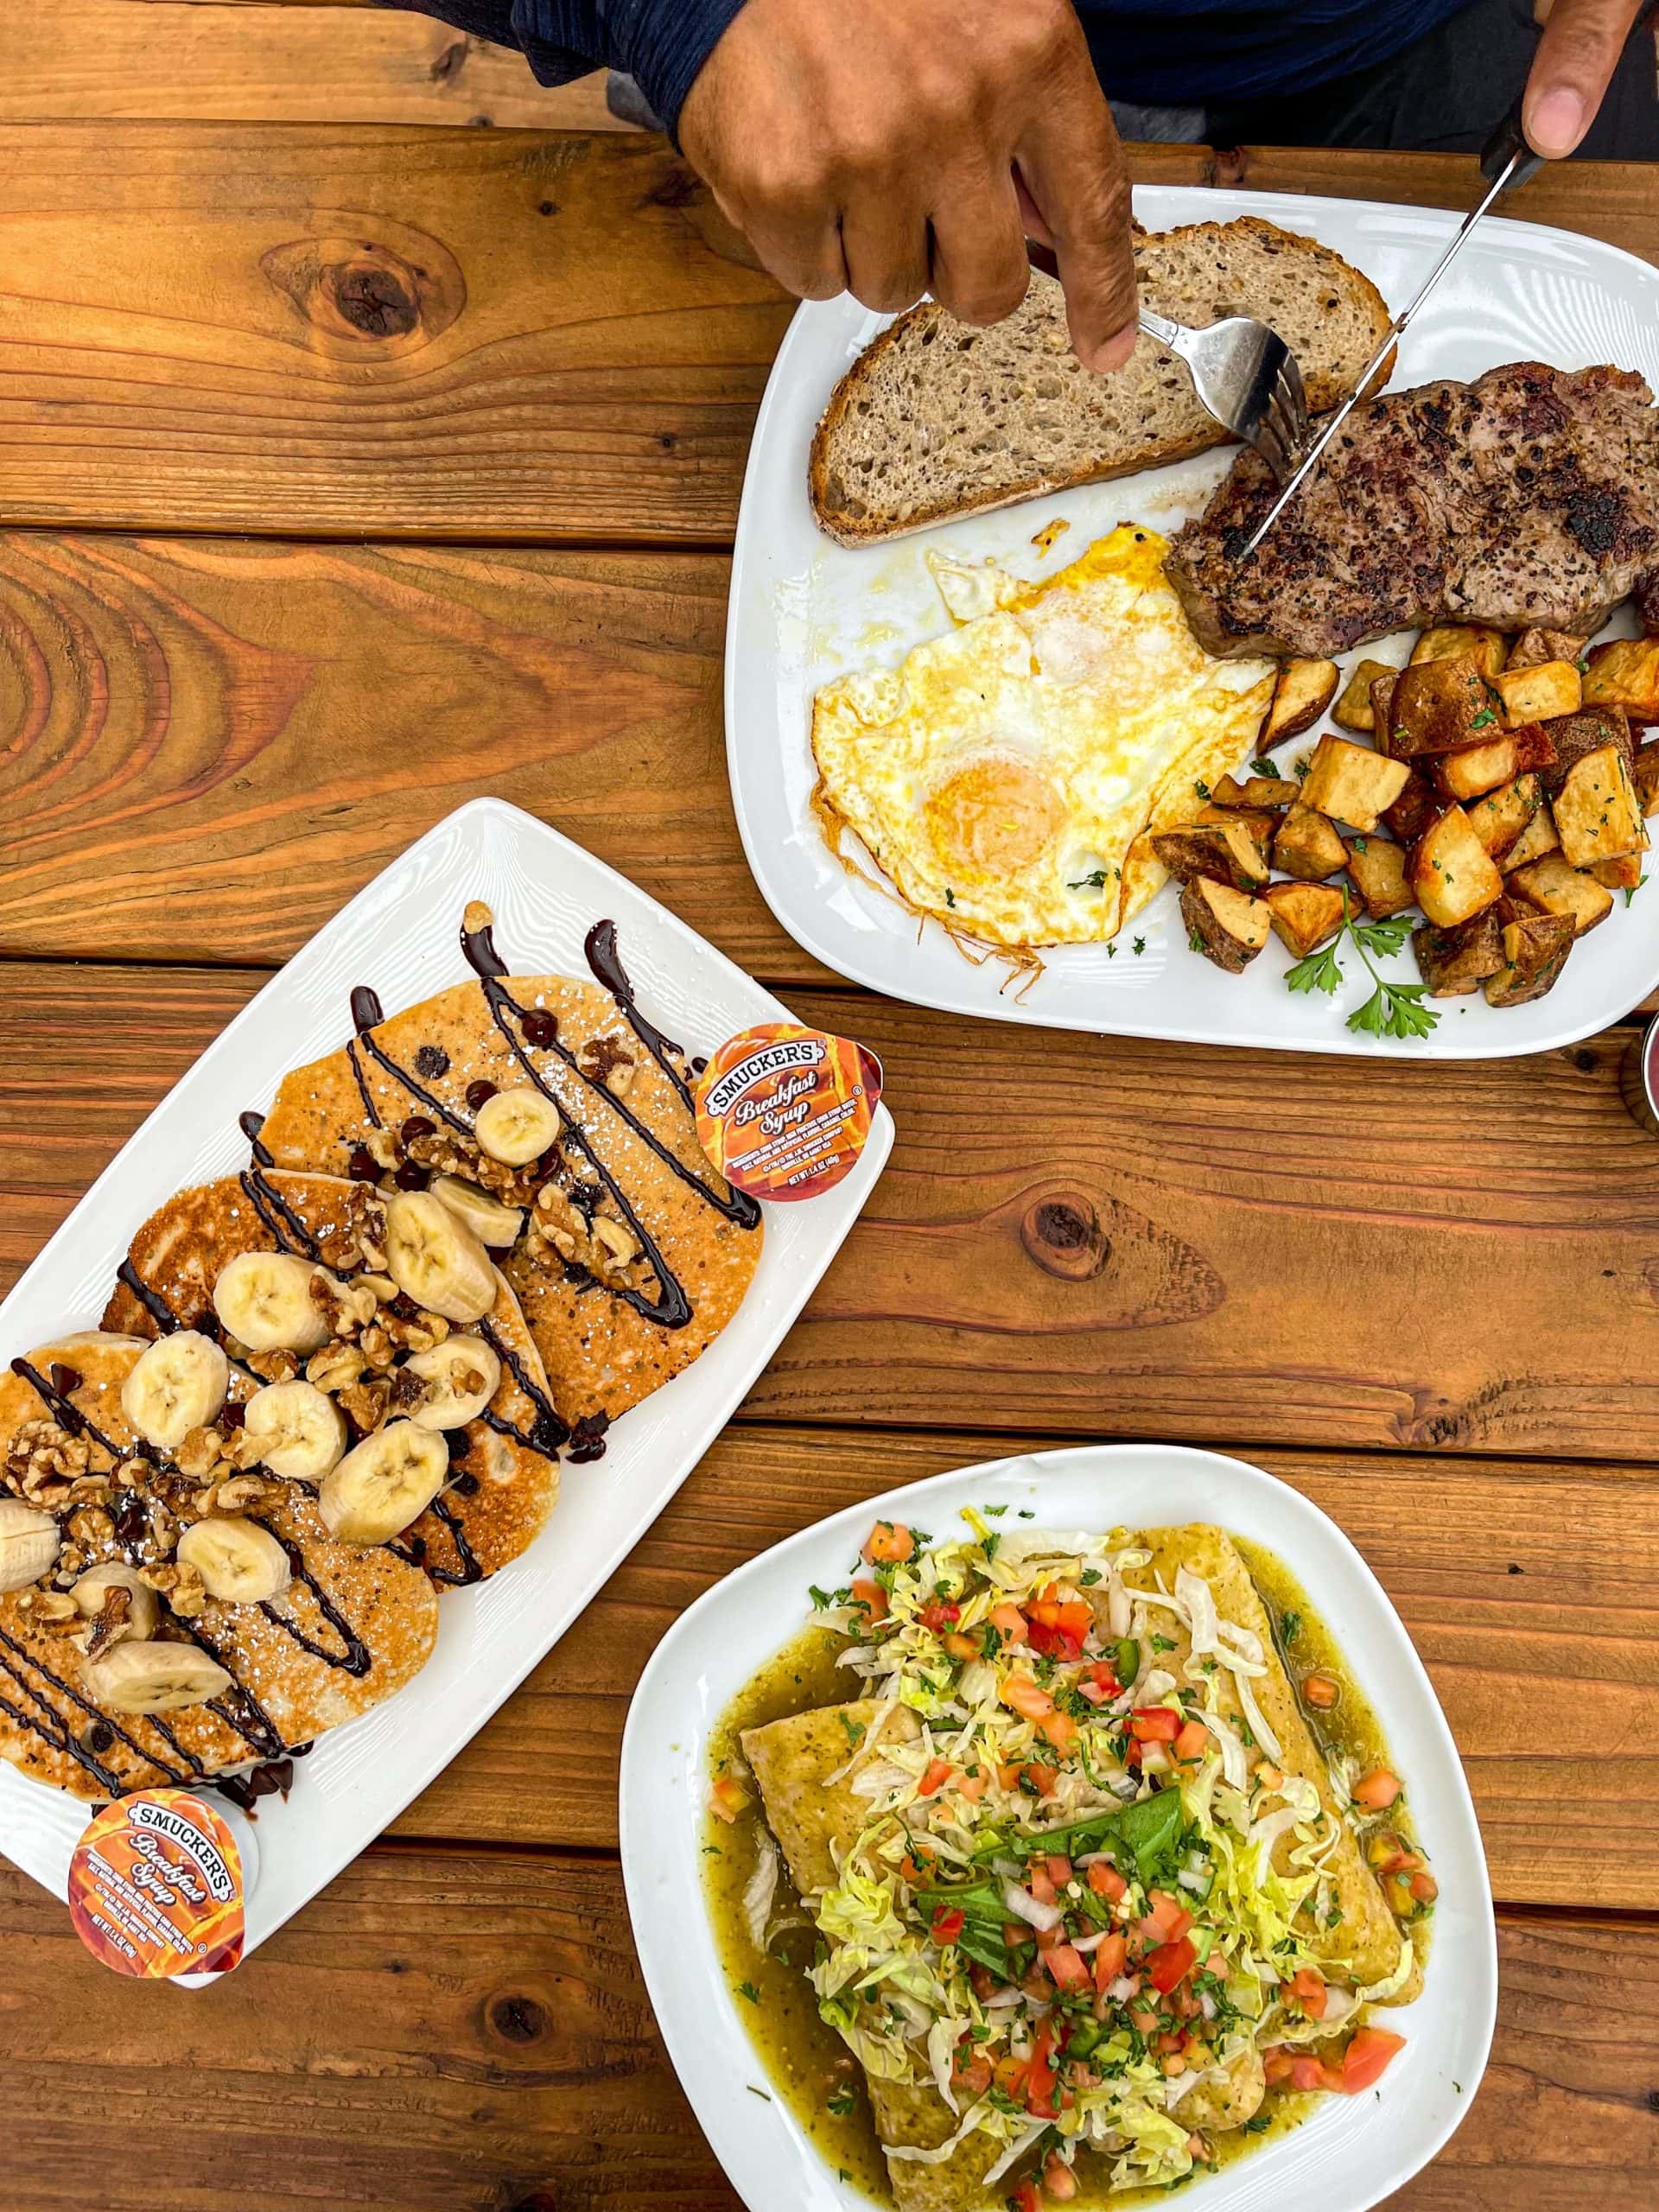
Nothing says “eat these waffles now” more than an image of syrup actually hitting the golden waffle stack, drizzling down the side.
Conclusion
I hope you find these tips for food photography action shots helpful. Like I always say, the only way to truly learn something is by doing. Using a tripod for me has been a learning curve. It’s uncomfortable. It’s annoying at first because you got to get the height and angles right.
But in the end, using a tripod (and understanding shutter speed and how it affects the image) and getting out of my comfort zone has helped my photography blossom!
Do you want to learn more about Food Photography? Be sure to check out my post Basic Food Photography. There are some great tips on how to get started!