Basic Food Photography (Part One)
Over the past year, I have been learning basic food photography and also now more advanced photography. It’s pretty amazing how my photos and composition have grown!


If you have ever thought about getting into blogging and better yet food blogging, one of the big pieces is the photography.
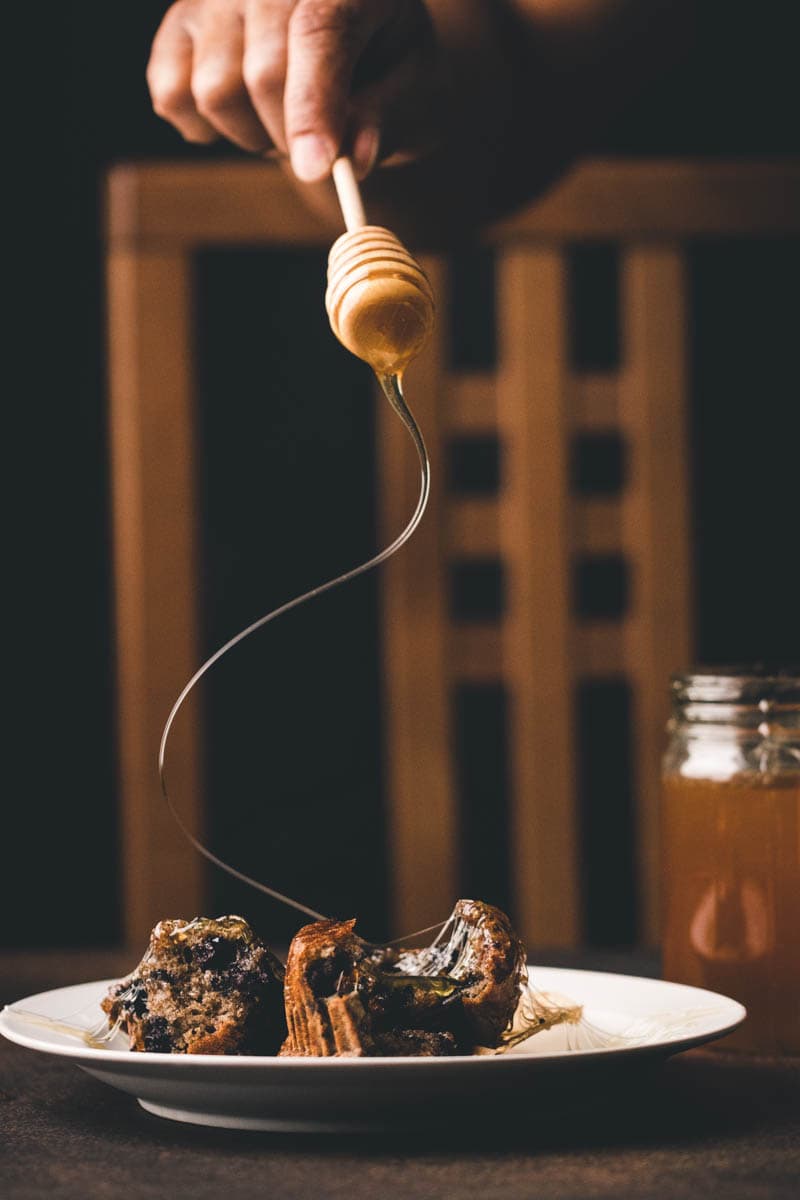
We Eat with Our Eyes
A long time time ago, when I worked in an office setting, we had a potluck. I brought in my delicious dish and plopped it down. People were excited to see it because they knew I always brought something good. Well my coworker friend, who is very blunt- said “That looks awful!” LOL
I was like say what?! He then says I’m sure it’s great as in the taste but looking at it, it is not appealing! Well, now the reason why that dish was “lacking” I can’t remember. It may have gotten shifted and messed up while in transit to the office or whatever the case.
But that is how I approach food photography and why I take it so seriously. I want someone to look at the photo and say, “This looks freaking bomb and I can’t wait to eat it!” – not “Omg that looks awful!”
Learning Basic Food Photography
When I decided to learn food photography, I was definitely starting from ground zero. I had bought my Canon t7i back in 2018 before the birth of my son in hopes to start taking food pics and such. Well reality was I used it a couple of times, maybe twice in the kitchen and twice in nature. I think we went to the Japanese gardens or something. Both times I operated the camera in automatic mode. Both times my pictures suffered and I couldn’t figure out why.
Come to find out, even though you may be shooting in automatic mode, it doesn’t mean you will get the image you want.
Tips for Better Photos
Here are a few tips for better photos. These are some basics that can help you get a proper exposure and also have you feeling more confident behind the lens.
- Learn how to shoot in manual mode. As I mentioned earlier, shooting in automatic mode will not always give you the results you want. But shooting in manual will because you will have control over the settings. This will require you to learn more about your camera’s functions and more importantly, how to use ISO, aperture and shutter speed.
- Make sure you have a good light source. If you have ever taken a picture inside your kitchen and your kitchen doesn’t have any windows, you may notice a yellow tint to your images. That is because the overhead light in your kitchen isn’t going to give you proper light for the exposure. You will want to take pictures of your food by a window. The daylight, particularly a cloudy day, will give you a beautiful exposure.
- Learn to how use a photo editing app such Lightroom. I use Lightroom Classic on my desktop however I started off using Lightroom Mobile. Editing your photos really is a game changer because it will bring the image to life!
The Best Advice for Learning Basic Food Photography
My best advice would be just to start! and also Practice, Practice, Practice! There are many tutorials on You Tube that can help get you going in the right direction. Some of my You Tube favorites are Joanie Simon of The Bite Shot and Skyler Burt of We Eat Together.
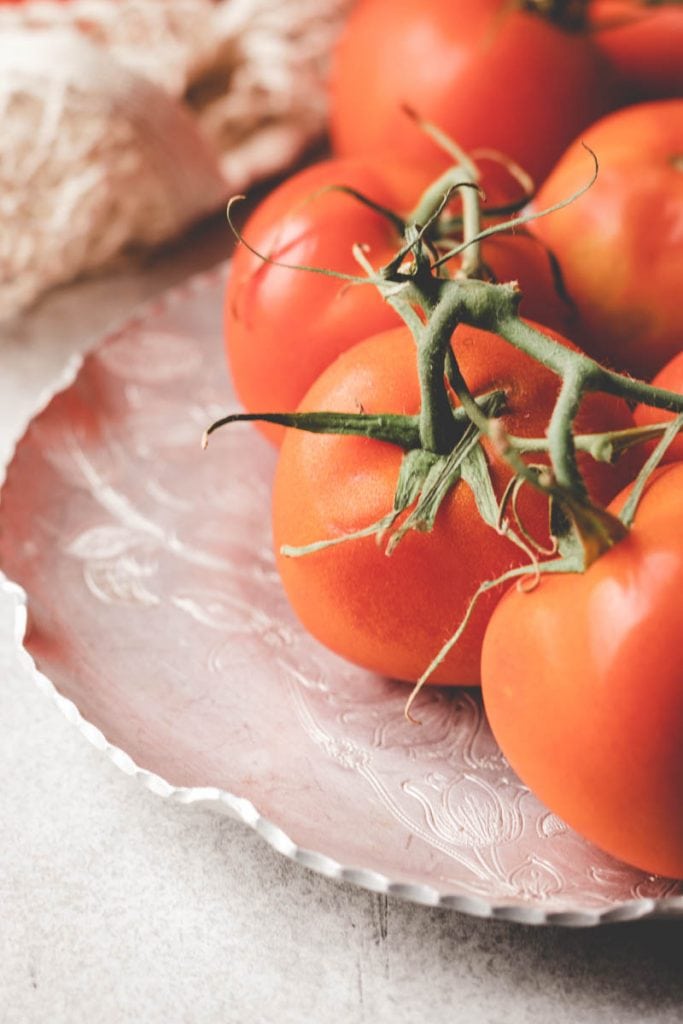
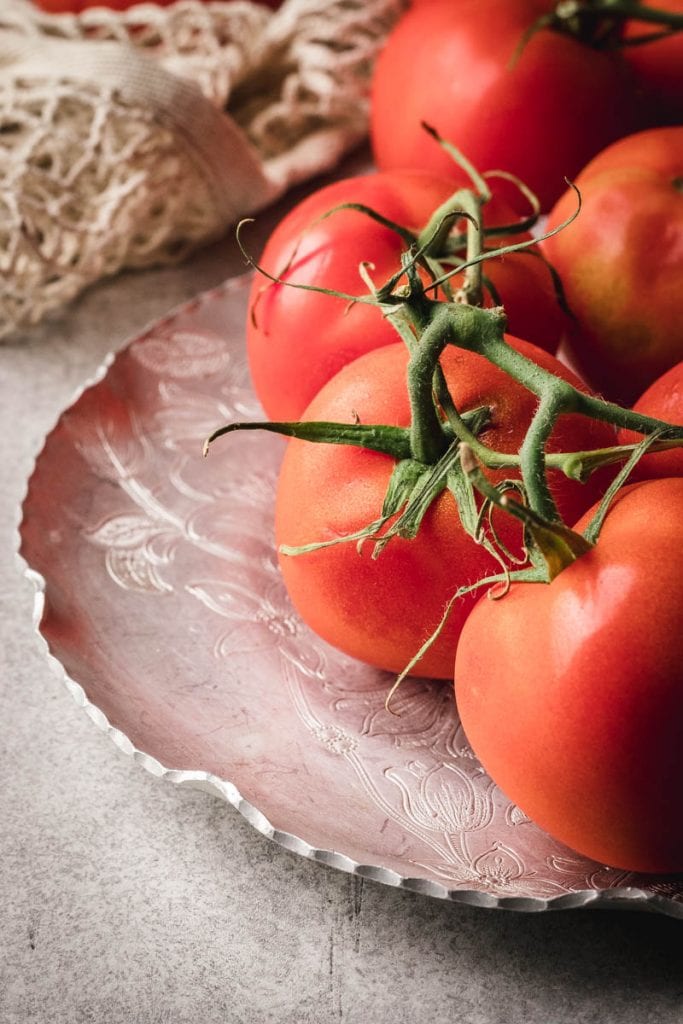
Taken from one of my assignments in my current advanced course: Below are photos of the same subject- tomatoes on the vine. And they are all shot with different settings on the camera. By doing this and studying it, you will be able to see the subtle differences between them all and grasp a better understanding of what each setting does.

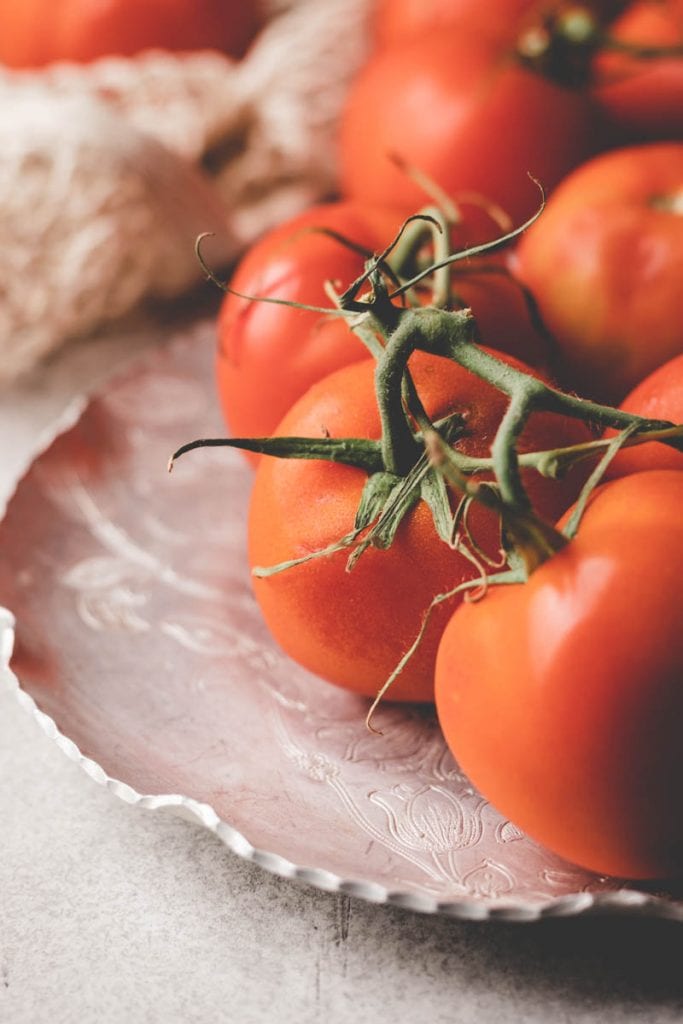

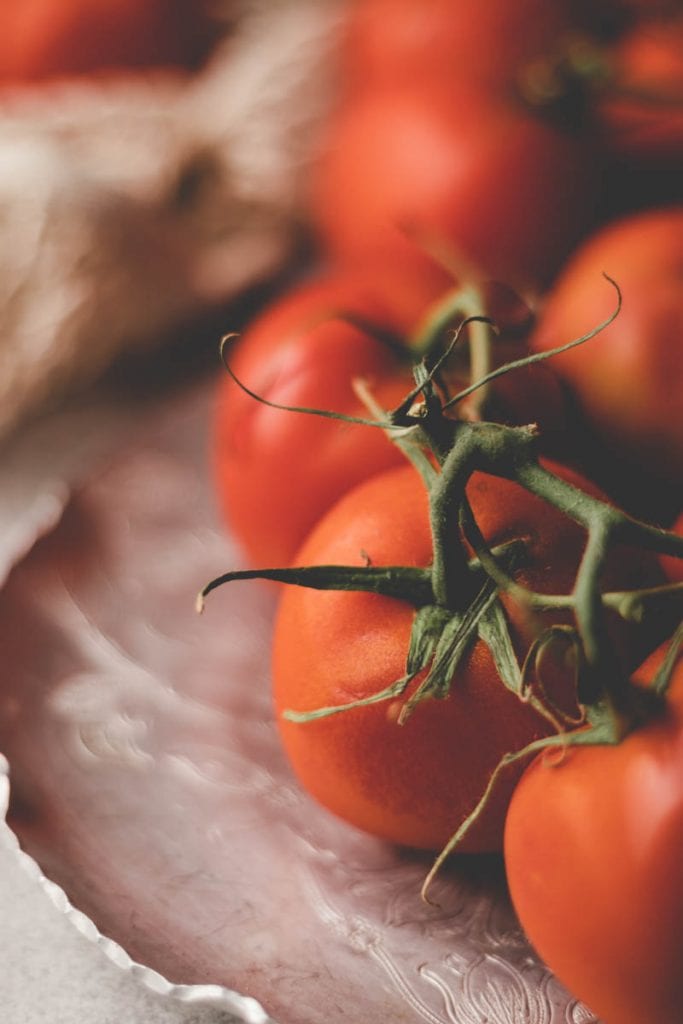
The Results
It took me forever to grasp how the shutter speed affects the image. But after this assignment, I now have a better understanding of what needs to happen in the aperture and the ISO in order to get it properly exposed.
If you are just starting out- keep learning, asking questions and more importantly keep creating!
Do you want to see some of my first food photos taken with my iPhone in 2008?! Check out my post Leveling Up on Food Photography.